
If you are constantly working on your Windows laptop, but do SSH to remote Linux server, you might be in a situation where you want to transfer files between Windows and your Linux server.
There are several free SFTP/SCP tools available.
WinSCP is one of the easy to use, but at the same time loaded with all the features that you would ever need in a SFTP/SCP client. This tutorial explains some of the most frequently used feature of WinSCP.
- Our Rating:

- Home Page
- OS: Windows 8, Windows 7 (32 and 64-bit), Windows XP, Windows Server
1. Create New Session
After you Launch WinSCP, click on the “Session” menu, which will allow you to enter the hostname, username and password to connect to a remote Linux Host. Once you connect, you can also save this session, so that you don’t have to keep entering the information every time.

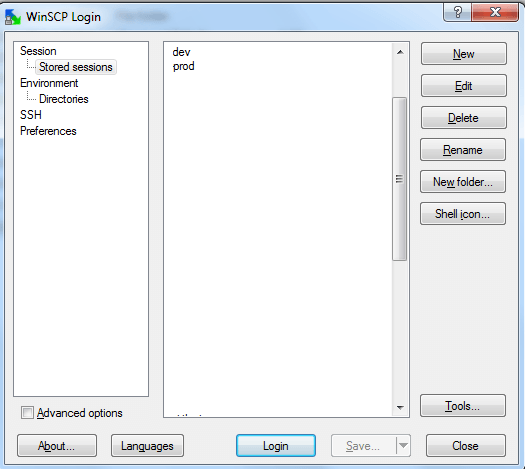
2. Login from Existing Session
If you’ve already saved a session click on the “Stored Sessions”, and select the session from here to login. When you exit the WinSCP from this screen, the next time you launch it, it will start from this “Stored Sessions” session.
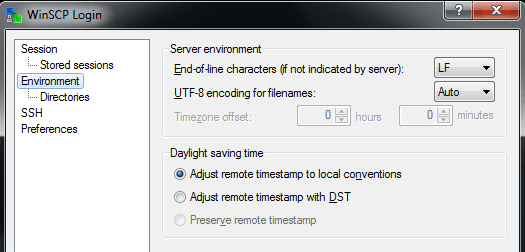
3. Environment
Click on the “Environment” menu. From here, you can change some of server environment. i.e You can define the end-of-line character, and UTF-8 encoding for files. You can also indicate WinSCP how it should treat the day-light saving time.
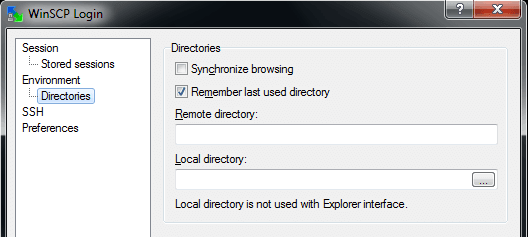
4. Directories
Click on the “Directories” menu. From here, you can specify what remote and local directory it should go to when you start a session. You can either leave it empty, or specify a particular directory, or you can even do a synchronized browsing which might be helpful in certain situation.
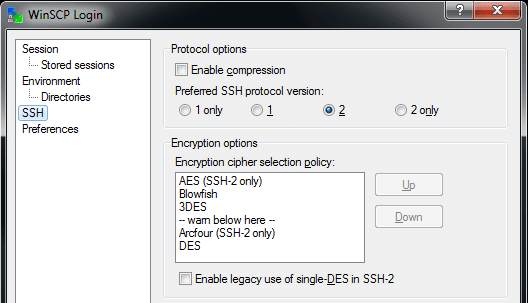
5. SSH Protocol
Click on the “SSH” menu. From here, you can specify the SSH protocol version WinSCP should use (Default is SSH protocol version 2), you can also specify some encryption option including compression.
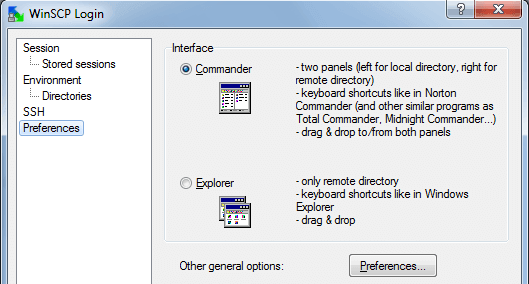
6. Preferences
The WinSCP interface by default will use “Commander” mode, where it shows both local and remote directories. But, if you use the “Explorer” mode, you can browse the remote Linux files, just like a local Windows explorer.
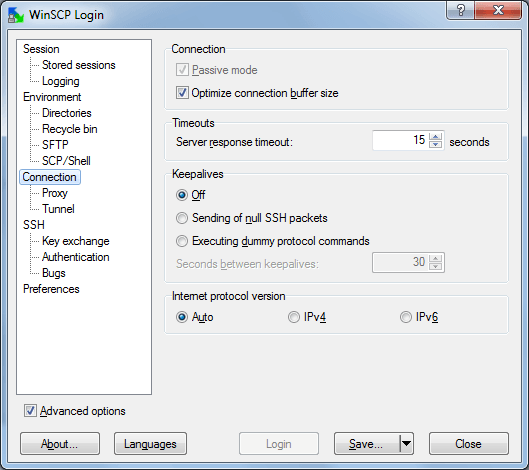
7. Advanced Options
Click on the “Advanced Options” check-box under the Menu. Once you click this, few additional menu items will appear as shown below. Some of the useful menu items in here are SSH-> Key exchange, SSH-> Authentication, Connection-> Proxy, Connection-> Tunnel.

Comments on this entry are closed.
I use this but nice one,